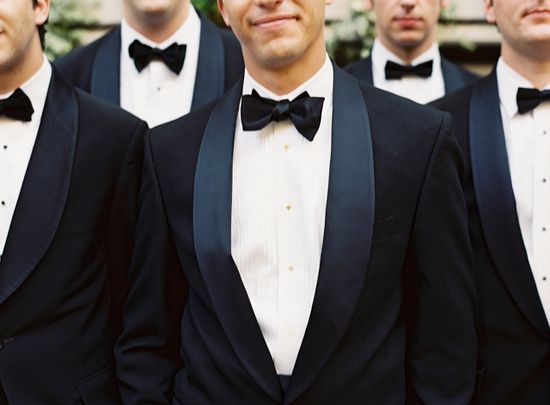
If you’ve been involved at all in even a few weddings, you have probably discovered that knowing how to tie a proper bow tie is equivalent to solving one of the great mysteries of life (pinning a boutonniere is pretty close too). It’s no surprise that rental tuxes often come with a pre-tied version that adjusts pretty easily. If they didn’t, rental stores would be inundated with grooms, fathers, groomsmen, and other wedding party members about an hour before every wedding begging for help tying their bow ties. A study by Tie-a-tie.net and Bows-n-ties.com actually concluded that less than 1% of men know how to tie a real bow tie!
While the pre-tied version is more popular than the self-tie, a great many real bow ties are still out there, so it’s worth putting in a little bit of time and practice to actually learn how to tie one yourself. In fact, it’s a skill that could win you great favor among more hopeless fellows at your next wedding!
Bow Tie Basics
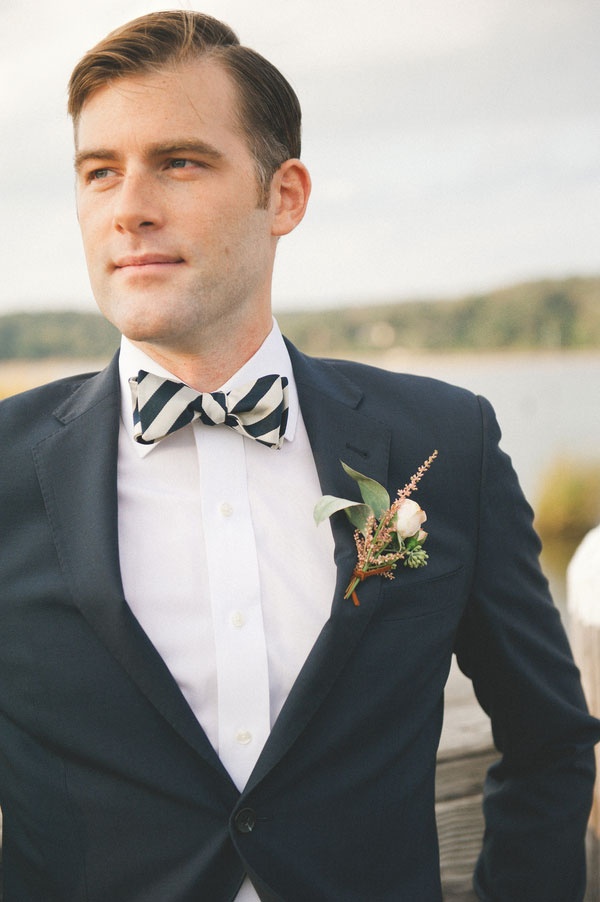
According to Ties.com, the bow tie is descended from the “knotted cravat”. Traditionally black bow ties were worn with dinner jackets and white bow ties were worn with evening tails. Today, RealMenRealStyle.com confirms that bow ties may be worn any time a tie is appropriate. They come in a rainbow of colors and a vast number of patterns – there is a tie to match every wedding color palette!
Tie-a-tie.net breaks the process of tying a bow tie down into 9 steps and provides easy-to-follow infographics. We’ve paraphrased their instructions below, but definitely visit the site for additional graphics and other resources. You can also watch video tutorials online if graphics and written instructions still leave you feeling confused. 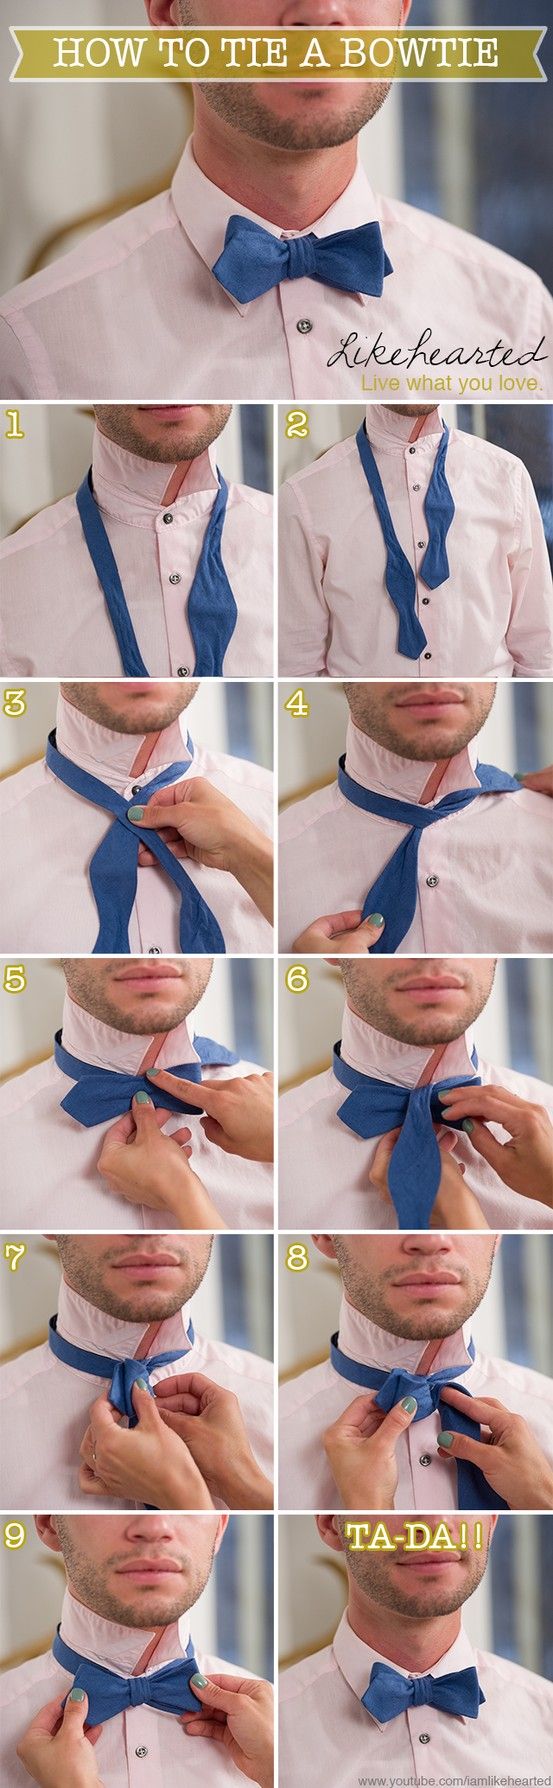
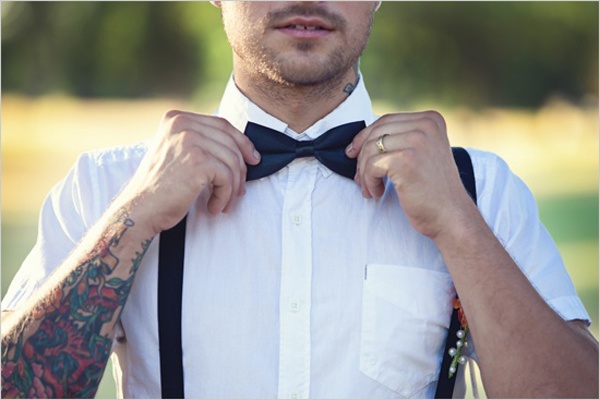
Steps for Tying a Basic Bow Tie
The first step is to turn up your collar, slip the tie around your neck, and make sure one side hangs 4-5 inches lower than the other. Cross the longer end over the other end.
Next, pass the long end under the crossed tie and pull it until it is snug, but not too tight. Fold the shorter end of the tie in half to start making the bow shape. Take the longer end of the bow and pull it over the middle of the folded top half.
Fold the longer part in half to create the second part of the bow. Pull it through the loop at the back of the bow. Keep pulling gently and adjusting until it looks right and is centered.
Practice Early, Practice Often
If you plan to wear a self-tied bow tie to your wedding, start practicing immediately. You don’t want the wedding day to be the first time you attempt the confusing operation. If you are giving bow ties, as gifts for example, to your wedding party, make sure to include written “how to tie” information and a link to your favorite online tutorials. Have a Bow Tie Hack? We’d love to hear it!